Reverse Sear, or reverse searing is a cooking method where you roast your meat or steak in an oven on a low temperature setting first. Then, you quickly sear it over high heat in a pan to finish. This trick takes the guesswork out of cooking, resulting in a perfect medium rare steak every single time!
Use it when you have thicker cuts of meat. 1,5 inches, or more. You’ll need around 1 hour from start to finish.
Use a meat thermometer for perfect results, or check out the temperature and timing chart below.
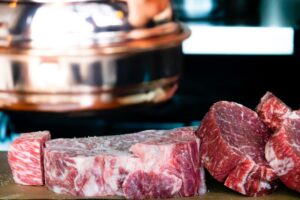
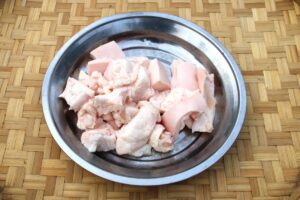
I bought and reverse seared filet mignon steaks from a 5 lbs cut of grass-fed tenderloin. I cooked some of them to medium rare to demonstrate how easy it is to reverse sear.
How To Reverse Sear Filet Mignon, Ribeye, Tenderloin or any other Steak
Preparation
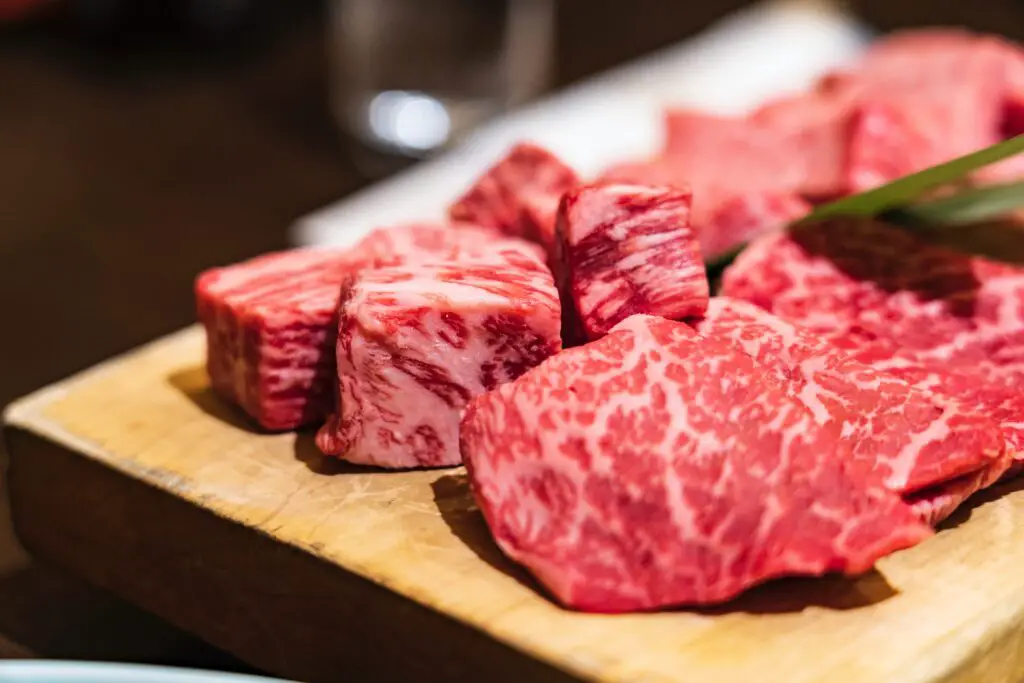
- Use meat that is at least 1,5 – 2 inches thick. Reverse searing works best on thicker cuts. If you have a thinner steak then it is better to pan sear in a more old-fashioned way. You can get amazing premium Wagyu meat from either Crowdcow (full A5 Wagyu) or SnakeRiverFarms (hybrid Wagyu at a lower price)!
- Season all sides of the steak liberally with kosher salt and freshly ground pepper. My “secret” tip is to use 1 tablespoon of kosher salt per lbs of beef. But you do you.
- Preheat your oven as low as you can go between 200°F – 275°F (93 – 135 degrees Celsius). If you know your oven well, or have tested its accuracy, then you can go below 200°F. Keep in mind that most ovens do not work reliably below 200°F.
- Place the meat on a wire rack on a baking sheet to catch drippings
- Push the meat thermometer into the center of the steak
First Step of the Reverse Sear: Roast your meat low and slow
- Put the meat into the preheated oven. If your meat probe has an alarm setting then set it 10°F or 8°C below the target temperature.
- Cook until the thermometer beeps, or until you reach the desired temperature. Check the reverse sear steak time chart below for more info
- Take out the meat, remove probes, let it rest while you heat up your (preferably cast iron) skillet with some oil. Make sure it is rip roaring hot. Use a high smoke point oil for this step.
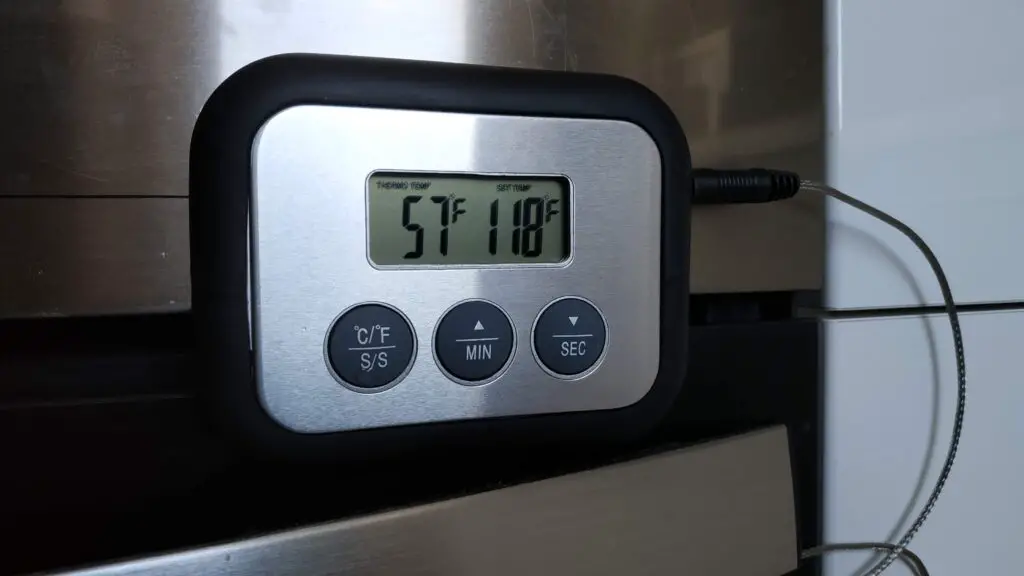
By the time I removed the filet mignons from the oven they were at 120°F. Check out the image below. Set on a plate and covered with foil carryover cooking pushed the core temp up all the way to 125°F!
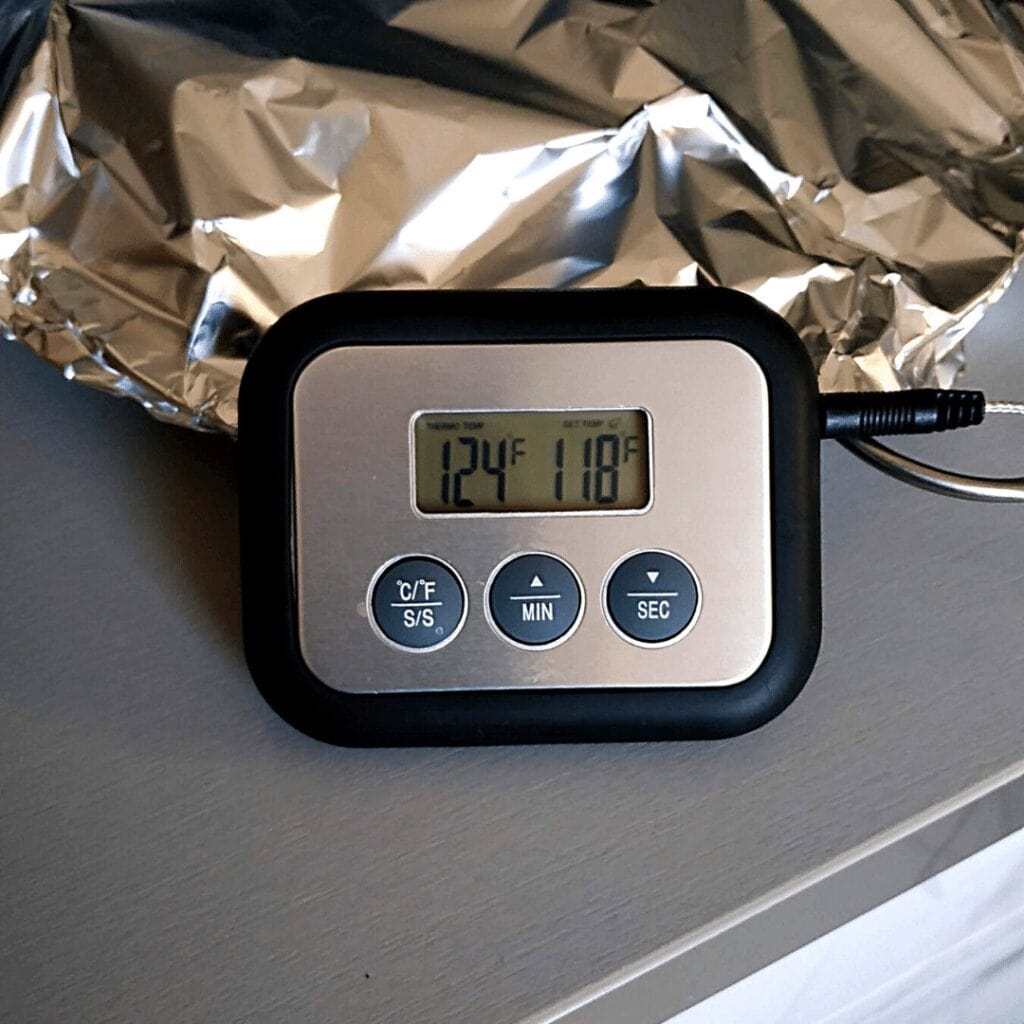
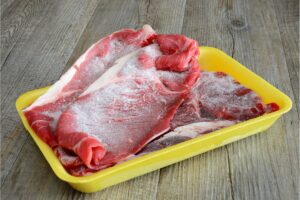
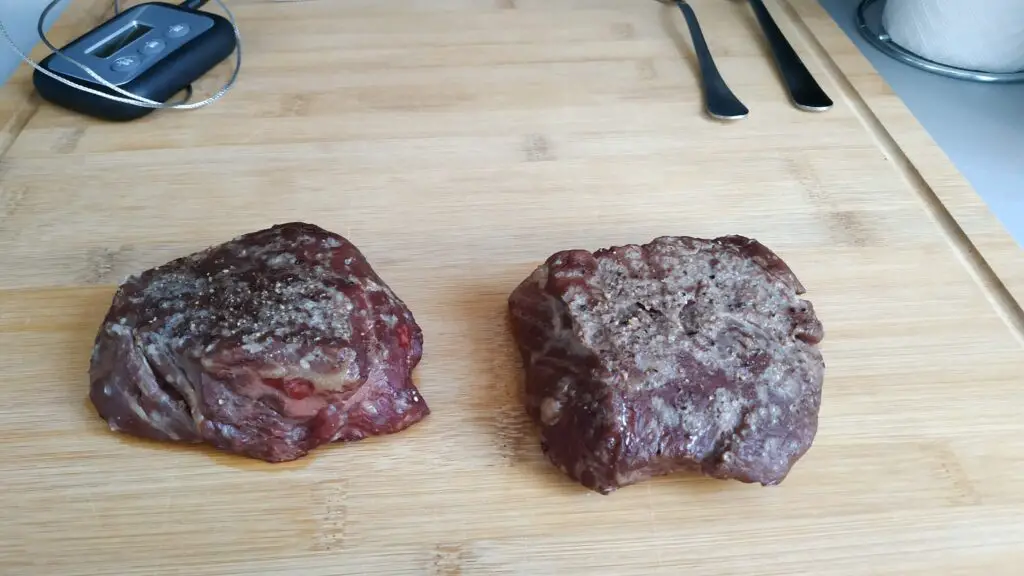
Don’t worry if your steak looks like some horror movie prop by the time you remove them from your oven. They are supposed to look disgustingly grey and lifeless. The important things are the internal temps and the dried out surfaces.
Second Step of Reverse Searing Steak: Searing (duh)
- Once your skillet is hot, sear all sides of the meat. It should take about a minute / side. Don’t forget the edges.
- If you want, now is the time to baste the steak with butter, garlic and thyme
- Serve immediately, no need to let it rest
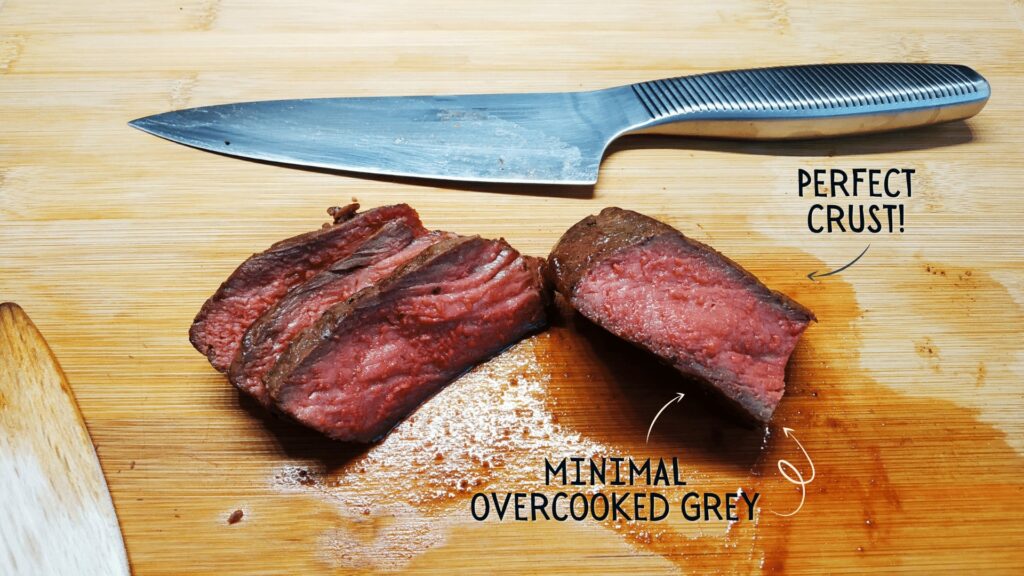
Check out the end result. The taste was fantastic, easily steakhouse quality. Even though these steaks were only made for show, my whole family piled into the kitchen to take a bite. In hindsight the only thing I would change is the crust on “leftie”, I should’ve given it a little bit more time.
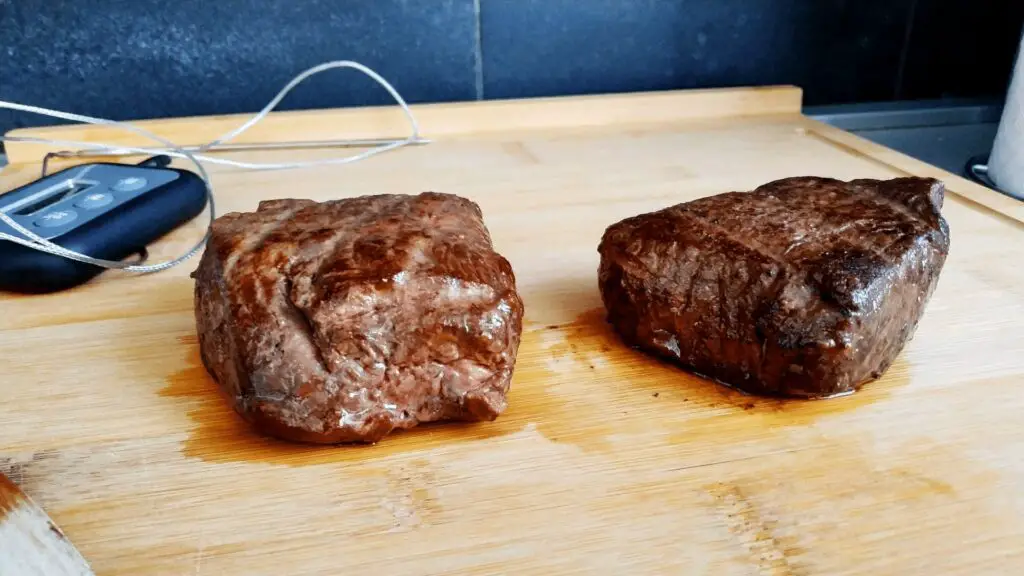
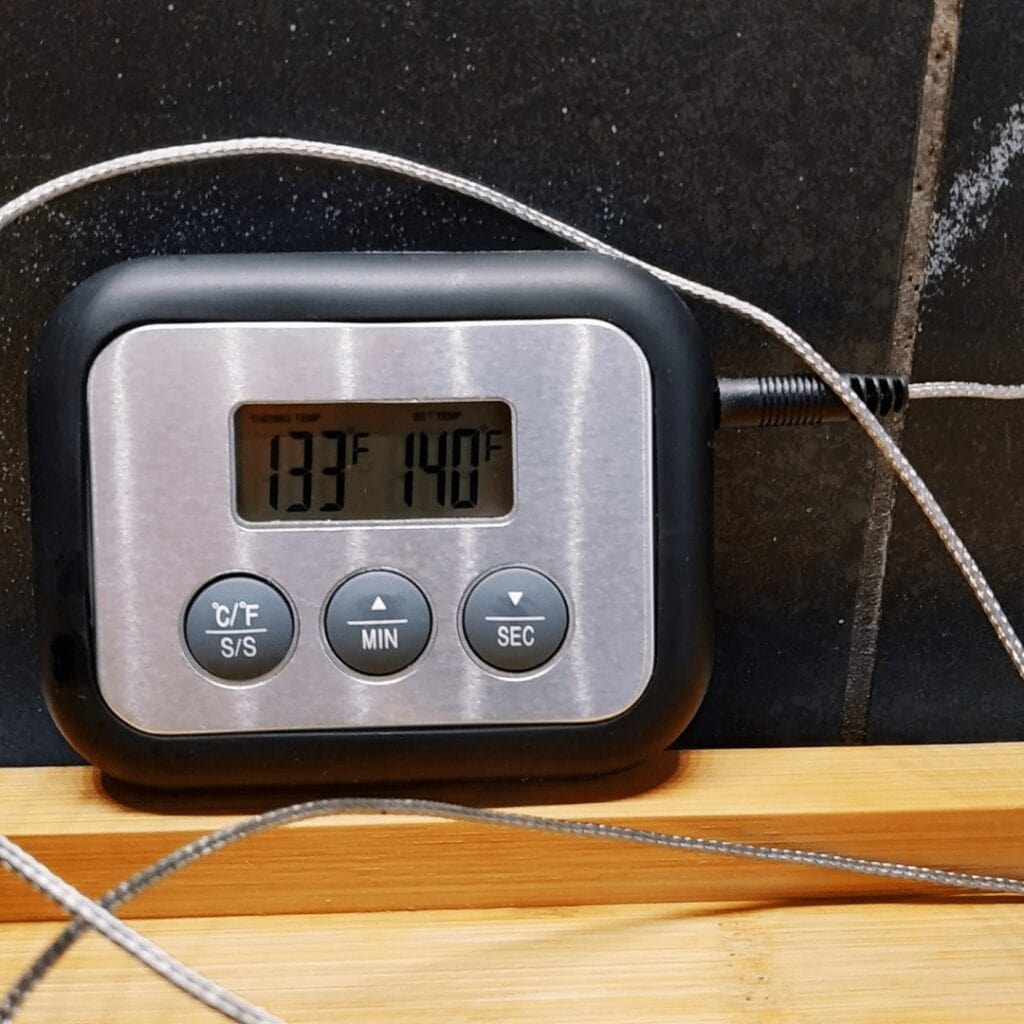
By the way, the end temp for the reverse seared steaks was a cozy 133°F. If you check the Reverse Sear Steak Time Chart below you’ll see that that is right in the middle of “medium-rare” territory. Bullseye!
Pros of Reverse Searing
Practice makes perfect. This is true in many areas of life. But I also like stuff that is accurate, and measurable. I like reverse searing because it is as close to exact science as you can get (apart from cooking sous-vide). You can cook steakhouse quality steaks with a minimum amount of effort with tools that you most likely already have in your kitchen.
More even cooking, and less risk of overcooking
Do you have guests requesting different levels of doneness on their steak? No longer a problem. Once you get the hang of this method then you can time the searing phase like a pro. Start with the steaks that need the most time in the oven, and gradually add in the other cuts.
Reverse searing also results in a more consistent internal color, the overcooked grey edges will be minimal with this method.
Way better crusts
Moisture is the biggest enemy of the perfect crust. By roasting the meat first you remove all excess moisture and the surface of your steak will be very dry.
Secret Tip: Put your uncovered, raw steak into the fridge on a raised rack the night before cooking. Fridges are masters of removing moisture.
More Tender Meat
This is somewhat debated, but by slow cooking the meat first the enzymes which break down tough muscle proteins have more time to work their magic. I feel like in this case the effect is marginal at best. The quality and type of meat will be the ultimate deciding factor on whether your steak is tender or not. While you can buy great quality at many places, crowdcow offers some great ethically farmed meat, including A5 Kagoshima Wagyu
Cons of Reverse Searing Steak
Reverse Searing takes much longer than a traditional pan searing method. You also can’t (or at least shouldn’t) reverse sear steaks that aren’t at least 1,5 inches thick.
Some forum commenters have reported that oven cooking might result in uneven internal temperatures if using the low end of 200 F in an oven. Depending on the size and shape of your meat some parts might be medium-well by the time the center is medium-rare.
To be honest, I have not noticed this problem when preparing the filet mignons.
Sous-vide vs Reverse Searing
The key difference is that your meat will be wet once you are finished with your immersion cooker. Since dryness is a key factor in developing crust you might have to wipe off excess moisture.
Apart from this, reverse searing intends to mimic sous-vide cooking, especially with the introduction of a meat thermometer.
Reverse searing is more affordable, because you don’t need an extra immersion cooker if you already have an oven or grill. Use the sous-vide method if you have an immersion cooker, but no meat thermometer. Reverse sear your meat if it has the thickness and you have a meat thermometer.
Reverse Sear Steak Without Thermometer

If you don’t have access to a probe thermometer then you really only have two options:
- If you have an instant read thermometer, then check regularly while the meat is still in the oven
- Check our reverse sear steak time chart to find out how long to reverse sear steak and try to guesstimate
The whole point of reverse searing is to give you an exact idea when to remove the meat from the oven to achieve perfect results. I would not recommend replacing the “scientific” part of this method with guesswork.
How Long to Reverse Sear Steak
It is impossible to create a one size fits all cheatsheet about total time to reverse sear steak. This is due to the fact that reaching the required core temperature will vary wildly depending on the mass of the meat and even its shape.
Nonetheless I have created a reverse sear steak time chart below. All values are only approximate, you really should use a thermometer!
Generally speaking, if you have a 1,5 inch steak, then you will spend 5 minutes for prepwork, between 20 – 40 minutes roasting the meat in the oven, and 5 minutes total searing each side. In my experience it takes around 60 minutes to prepare a reverse seared steak to medium-rare for someone who has never done it before.
Reverse Sear Steak Time Chart
| Meat Doneness | Target Temp in Oven | Serving Temp | Estimated Time in 200°F (93°C) Oven |
| Rare | 110°F (44°C) | 120°F (49°C) | 40 minutes |
| Medium Rare | 125°F (49°C) | 135°F (57°C) | 50 minutes |
| Medium | 130°F (55°C) | 140°F (60°C) | 60 minutes |
| Medium Well | 135°F (57°C) | 150°F (65°C) | 70 minutes |
Please keep in mind that these values are estimates only. Use a meat thermometer. If in doubt, adhere to the new USDA safe minimum internal temps.
Best Steak Marinade for Reverse Sear
Do you have premium quality meat, or an expensive cut like wagyu beef (check out how much a wagyu ribeye costs)? Then I do not recommend using any marinade at all. Salt and freshly ground black pepper is all you need. If you feel fancy then butter baste the steak at the end and add something from our list of spices.
Word of advice: One key element of reverse searing is that the surface of your meat is dried out by the time you remove it from the oven. If you marinate the meat before roasting you introduce extra moisture, which in turn might lead to problems when you are trying to sear a crust onto your steak
If you really insist, then the best steak marinade for reverse sear is the Sweet and Spicy Whiskey steak marinade:
- 2 tablespoons each of: Brown sugar, Soy Sauce, Dijon Mustard
- 1 tablespoon each of: Ground ginger, Whiskey
- 1 teaspoon ground cayenne pepper
- 3 cloves of minced garlic
- Put the meat and the ingredients in a ziploc bag, shake well to distribute the marinade evenly, and place into fridge for at least 1 hour
Tips For the Perfect Reverse Seared Steak
Don’t put your meat thermometer against bone. It will throw off your reading
Don’t forget to pull out the steaks before the real desired internal temperature is met, due to carryover cooking. Use the timer function on your meat thermometer!
Use the highest quality meat that you can afford. Quality over quantity. If in doubt, read our article about Wagyu Beef vs Normal Beef.
Searing does not lock in juices, don’t believe the lies. This has been proven time and time again. If the crust would be watertight then what would be the point of basting, or what would explain the continuous sizzling sound on the grill?
Reverse searing might actually result in an increased amount of retained moisture. You can test this out if you want, but some have already done the legwork for you.
Use a high smoke point oil, such as sunflower oil, beef tallow, avocado oil or canola oil!
That’s it!
Roast first, sear second. And if you are worried about cleanup, then check out my article about How To Clean Cast Iron After Cooking. Enjoy your meal!